Trying different versions of CoreELEC for specific devices is just wrong, wrong, wrong.
You do not need to short pins and I would advise against this incase you touch the wrong pins and fry the SoC, I have purposefully bricked one of my boxes in the past by zero’ing the whole eMMC to see how recoverable these boxes where and because I wanted to try doing some bootloader development.
As I said earlier I have come back from the worst possible case of bricking you can do, there is always a way to recover these boxes.
Firstly you need the vendor firmware for your specific box and you have not stated what your device is.
Secondly this is the guide I followed to recover from a completely bricked device, if you follow it then you should have no issues in restoring your device.
The one from China Gadgets Reviews is the “update_MXIII-GII_rv112.img” one same as the one from Entertainment Box website.
The “update_MXIII-GII_rv112.img” has 743 MB.
The “update_MXIII-GII_rv109.img” has 885 MB.
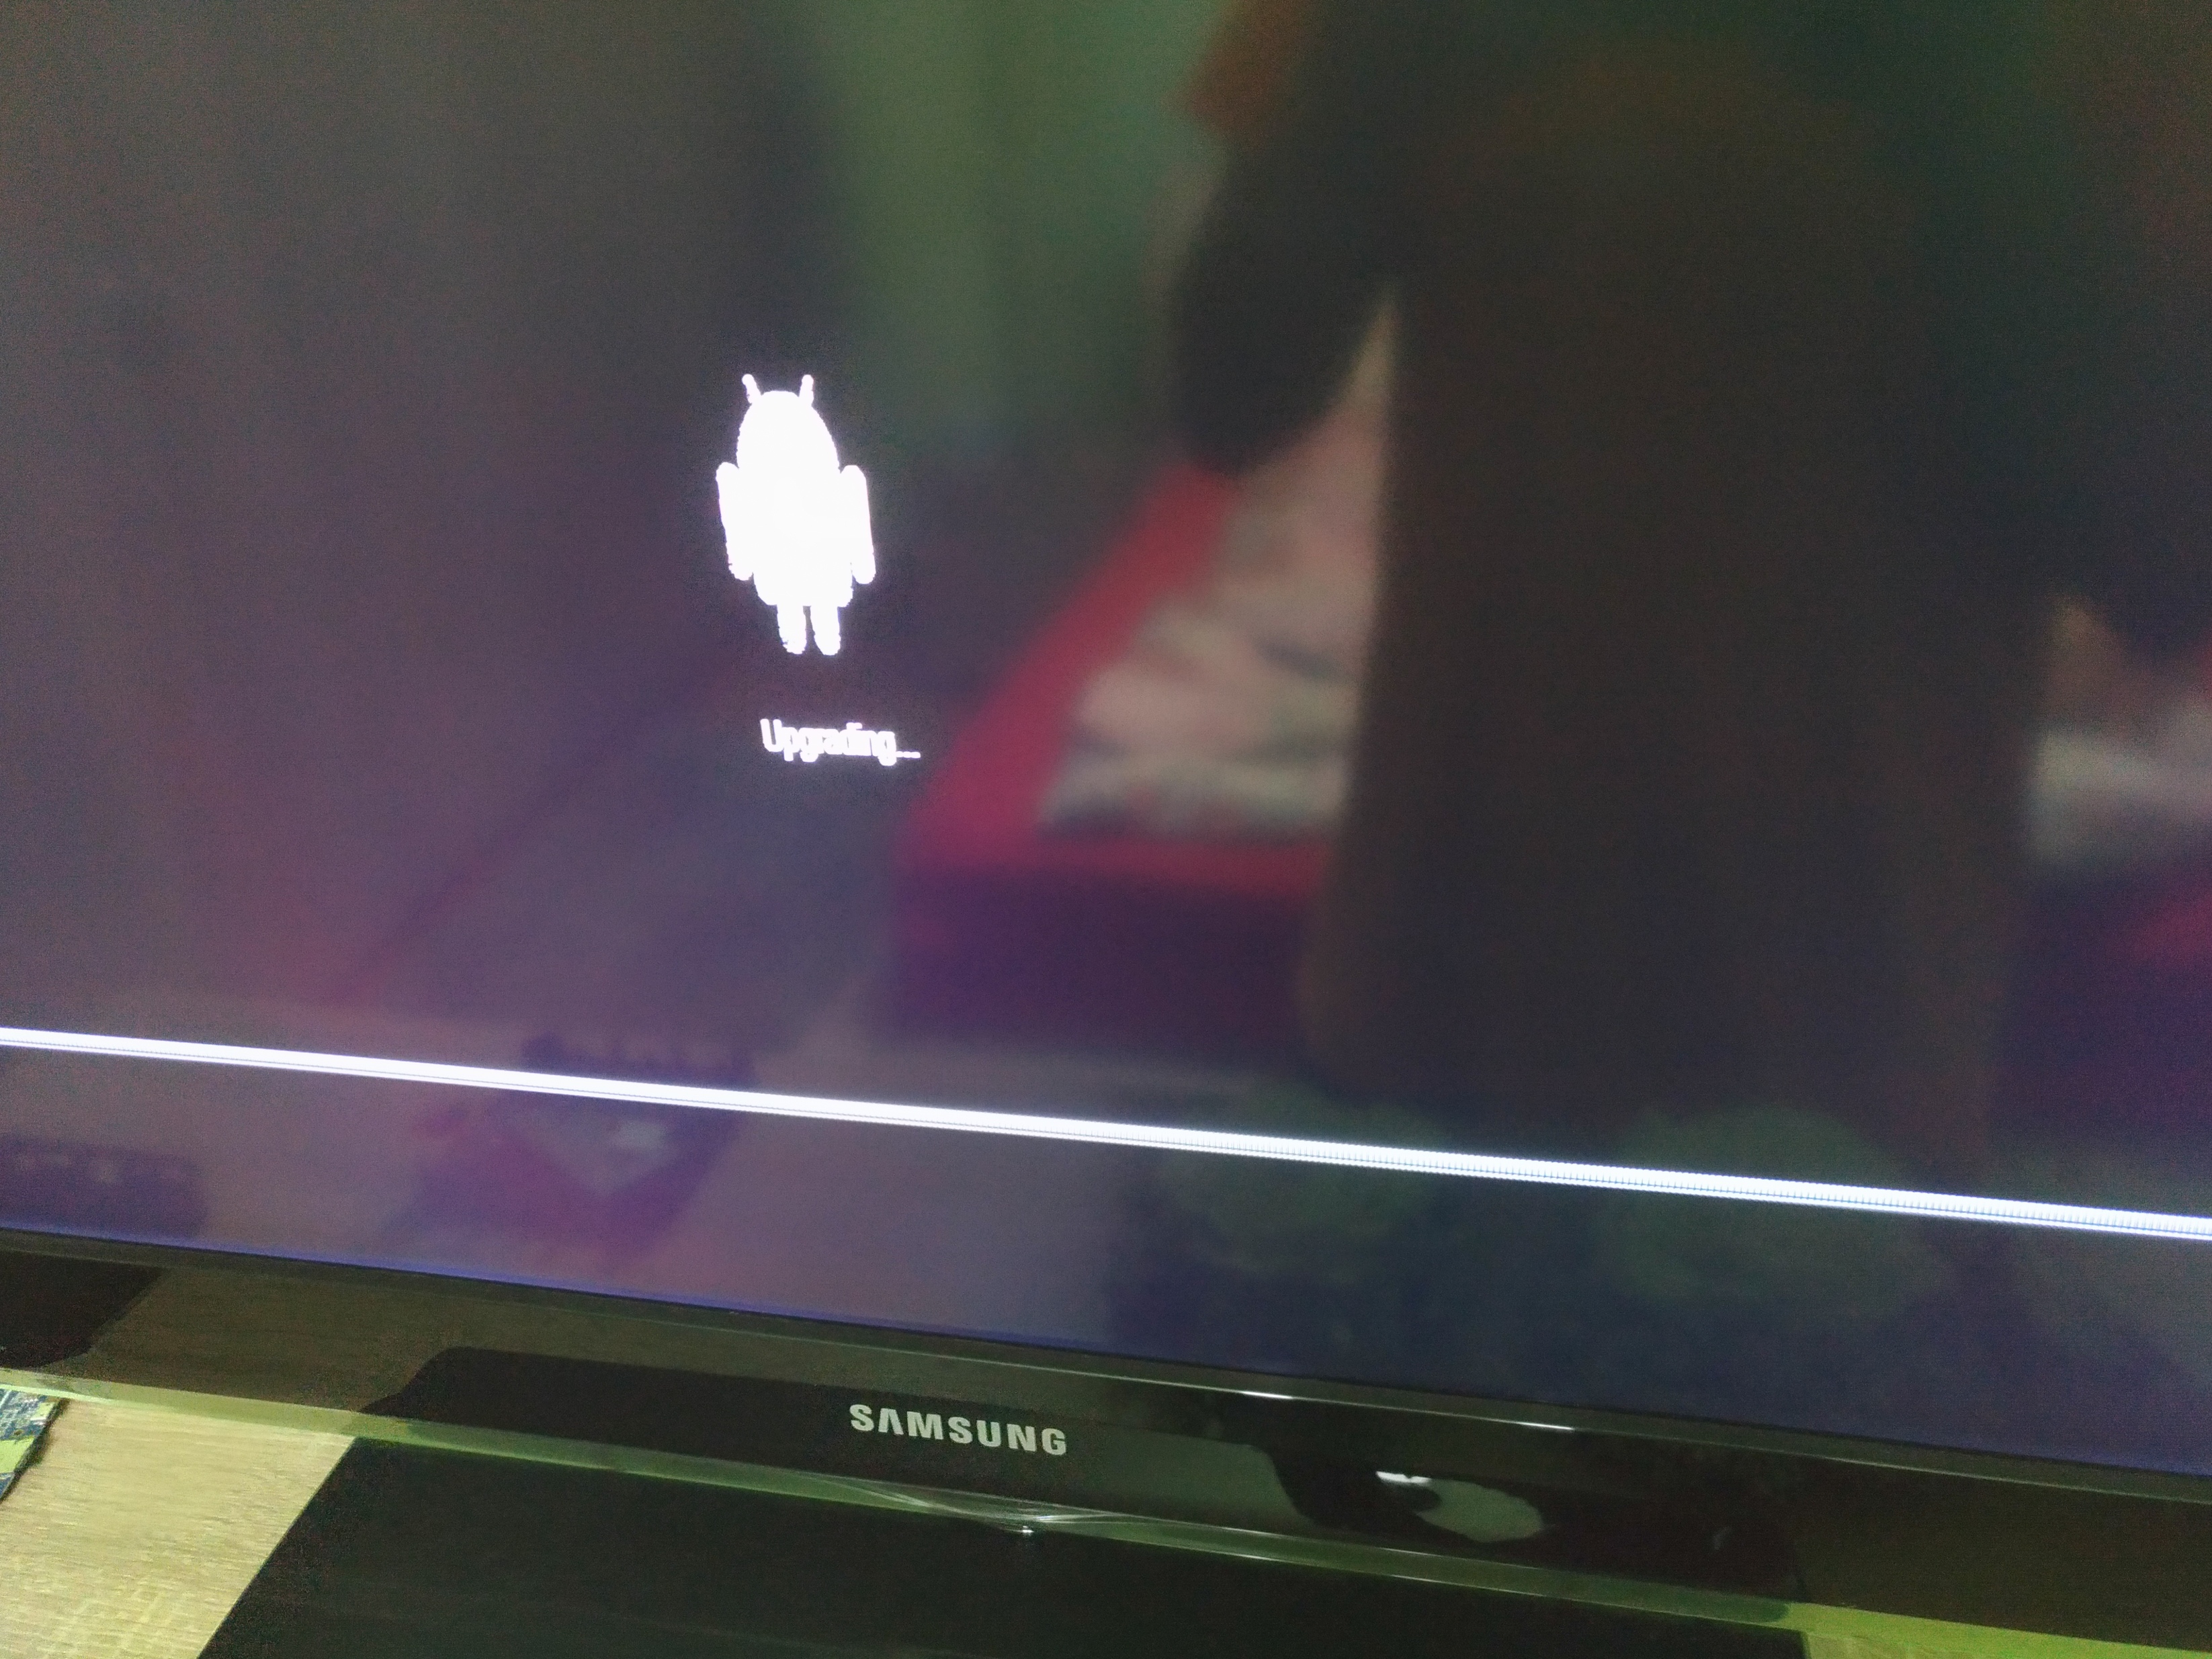
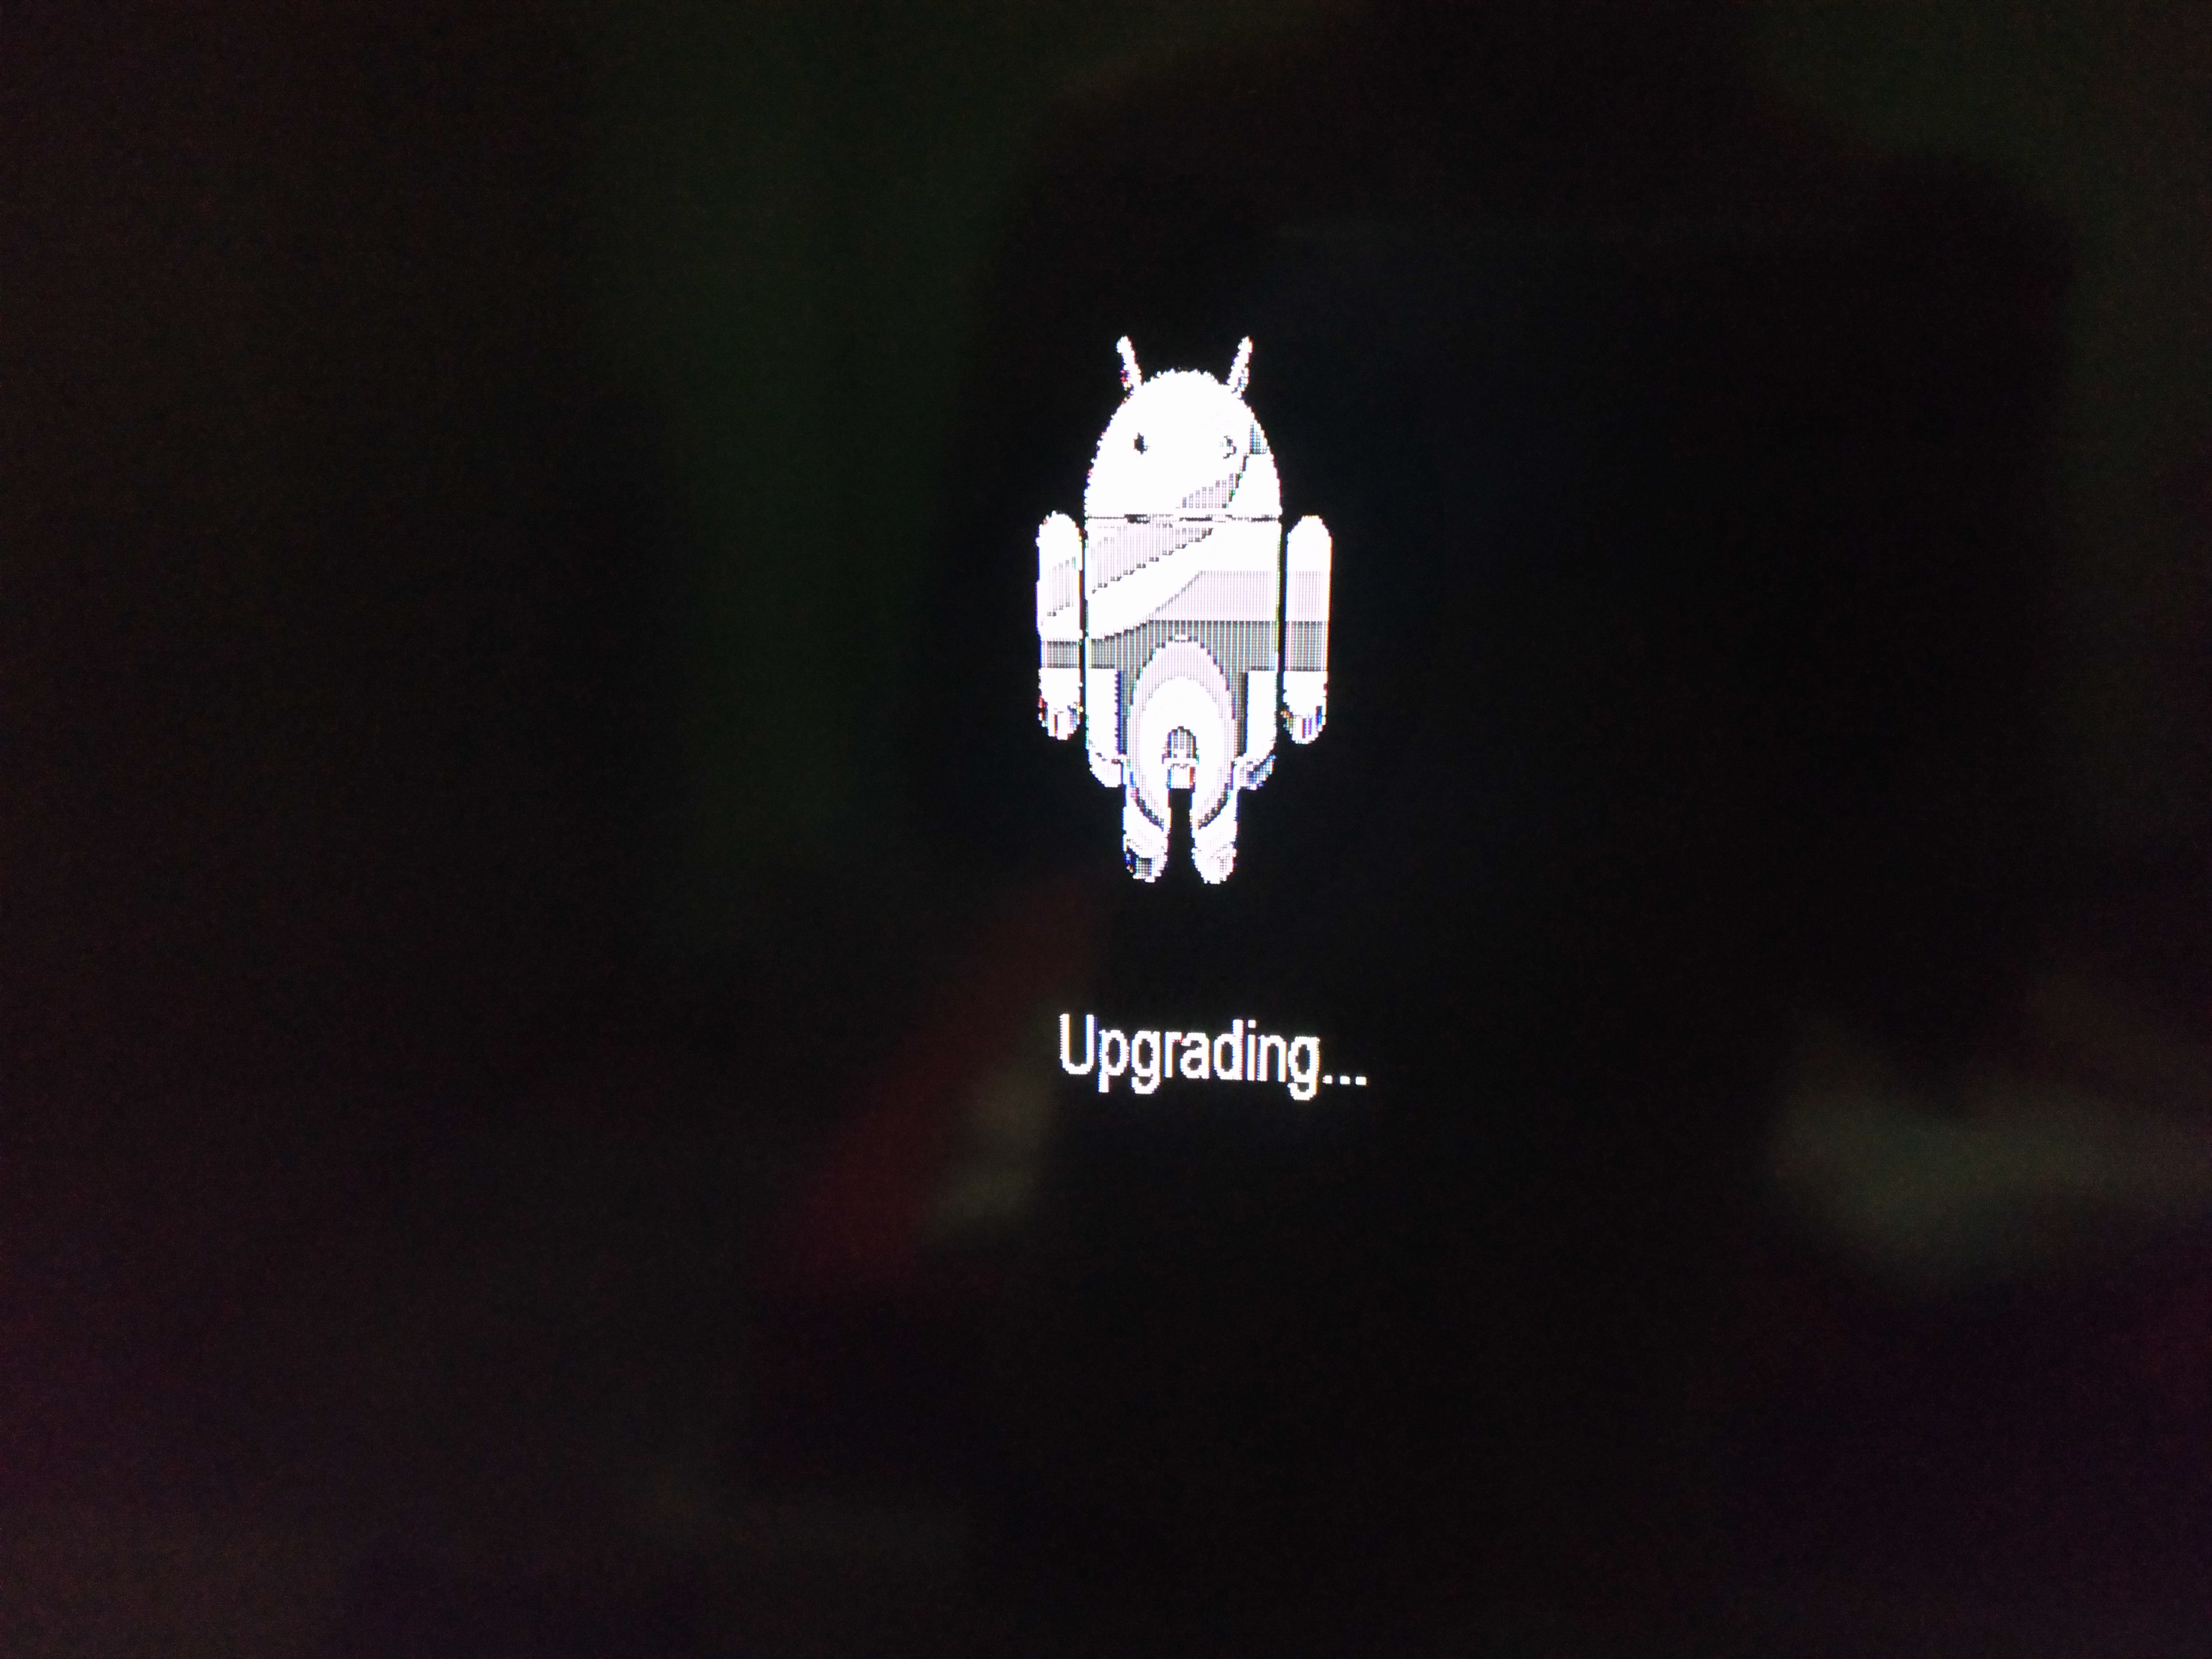
Tried them both on USB Burning Tool and with the Burn Card Maker and both seem to get stuck around 5 to 10%, as in the picture.
Although GearBest already has the “update_MXIII-GII_rv109.img” version on their site I asked them for another one but they said they can’t help me because the one year warranty has passed.
I cant find the site of the manufacturer either.
Well the good news is your box isn’t bricked per se, I’d imagine that is an upgrade image though hence it won’t go over 5%, you need the full image for this to work.
Your box not booting CoreELEC is nothing to do with the DTB, I would image u-boot is missing from the eMMC and that is why you are getting no video signal.
One option that should work but I have not tested is to burn the S912 image and then add u-boot to it from that upgrade image. If you have access to a linux PC then it’s easy.
This is exactly what I was asking for, I flashed an ubuntu image on a usb pen drive for this, but I am very unfamiliar with this things so could you please walk me trough every step and command line I need to type into the terminal?
Should I open the terminal where aml_sdc_burn.UBOOT is placed then just enter the two commands with the correct sdX?
The process of shorting NAND pins is a valid and well recognized recovery method for extreme bricks and I have used it myself when flashes corrupted the boot loader. It is a standard method for recovering Khadas products and described on their own forum and website. It is not described for most boxes since most boxes are not documented.
Here is a thread where it is discussed for various different boxes:
Sorry for the delay, here is what I did.
I went ahead and burnt another card with a S912 image.
I booted ubuntu on my pc , downloaded the aml_sdc_burn.UBOOT file.
Opened a terminal and did:
I did this again with the bootloader.PARTITION file.
Did : scp ~/Downloads/bootloader.PARTITION root@192.168.1.42:/storage
And got : bootloader.PARTITION 100% 912KB 8.0MB/s 00:00
Did : ssh root@192.168.1.42
Did : dd if=/storage/bootloader.PARTITION of=/dev/bootloader
And got : 1824+0 records in 1824+0 records out 933888 bytes (912.0KB) copied, 0.009870 seconds, 90.2MB/s
Before you ran installtointernal did the coreelec usb boot?
because it seems to me that you didn’t use the correct device tree
Download the S912 image, burn to usb, on the newly burnt usb, you will see a folder of device trees, choose the correct device tree, copy it to the root of the usb, then rename it to dtb.img
If it doesn’t boot, try another device tree, unless it boots, you won’t be able to installtointernal
The SD I burnt with the S912 image only boots if I manually add the u-boot file.
However after I add the file it boots fine , Wi-Fi and everything seems to run just fine, so I don’t think I am using a wrong dtb.
Did: dd if=/dev/zero of=/dev/bootloader bs=4M count=1
And got: 1+0 records in 1+0 records out 4194304 bytes (4.0MB) copied, 0.015331 seconds, 260.9MB/s
Did: dd if=/storage/bootloader.PARTITION of=/dev/bootloader bs=512 seek=1
And got: 1824+0 records in 1824+0 records out 933888 bytes (912.0KB) copied, 0.011547 seconds, 77.1MB/s
And it doesn’t want to boot the stock S912 image.
Could you be more precise about the OTA thing ,as I mentioned above I am very unfamiliar with this sort of stuff, the more in depth , the better.
I unfortunately have to go now but will come back tomorrow with updates if any.