Kodi Open/LibreElec Veteran, Single Board Computer / CoreElec Novice. Some Advice?

Hey all,

Long time Linux on x86 and Kodi/Open/LibreElec veteran user here, but I am brand new to these single board ARM devices, and was hoping to get some advice.

I currently have 3 aging x86 Kodi boxes in the house that all connect and play back from a shared NAS media library, and MythTV backend.

I decided to give these newfangled ARM single board computers a try this time around, and went out and ordered an Odroid N2+

It seems like an impressive little device.

I did my initial install on an old 32GB MicroSD card I had kicking around from a dashcam. Everything works, but booting takes significantly longer than I am used to on x86 machines with SATA SSD’s. Updating the library to populate the database also seems to take significantly longer than I am used to. I presume it’s just that SDCard’s are not quite up to the task, or my SDCard is not a fast variety, or both.

So, I think I want to try eMMC instead. A few questions about this, and about related N2+ issues are below:

1.) I looked at HardKernel’s list of eMMC modules with different color labels, I can’t tell if there is any difference between the modules themselves, or if it is just the software that is flashed to them which is different. Can anyone answer this?

2.) Are there different eMMC speed grades I should be considering when I am shopping?

3.) Are the modules with this connector ODroid proprietary, or are they a industry standard?

4.) Are there any blank eMMC modules I could shop for instead? Any third party ones? Or should I pick an Odroid branded one?

5.) I hear about a script you should run to install to eMMC. Instead of doing that, can I just use DD on my desktop to write the contents of my SDCard directly to the eMMC module and then pop it in and have it boot, or does this script do something else I need to be aware of?

6.) I read somewhere that using the update feature from internal storage is not supported/recommended. Does this refer to eMMC or SPI? What is the reason for this? Does it fail often? Seems fairly easy to pop the eMMC module out and reinstall if it should go awry.

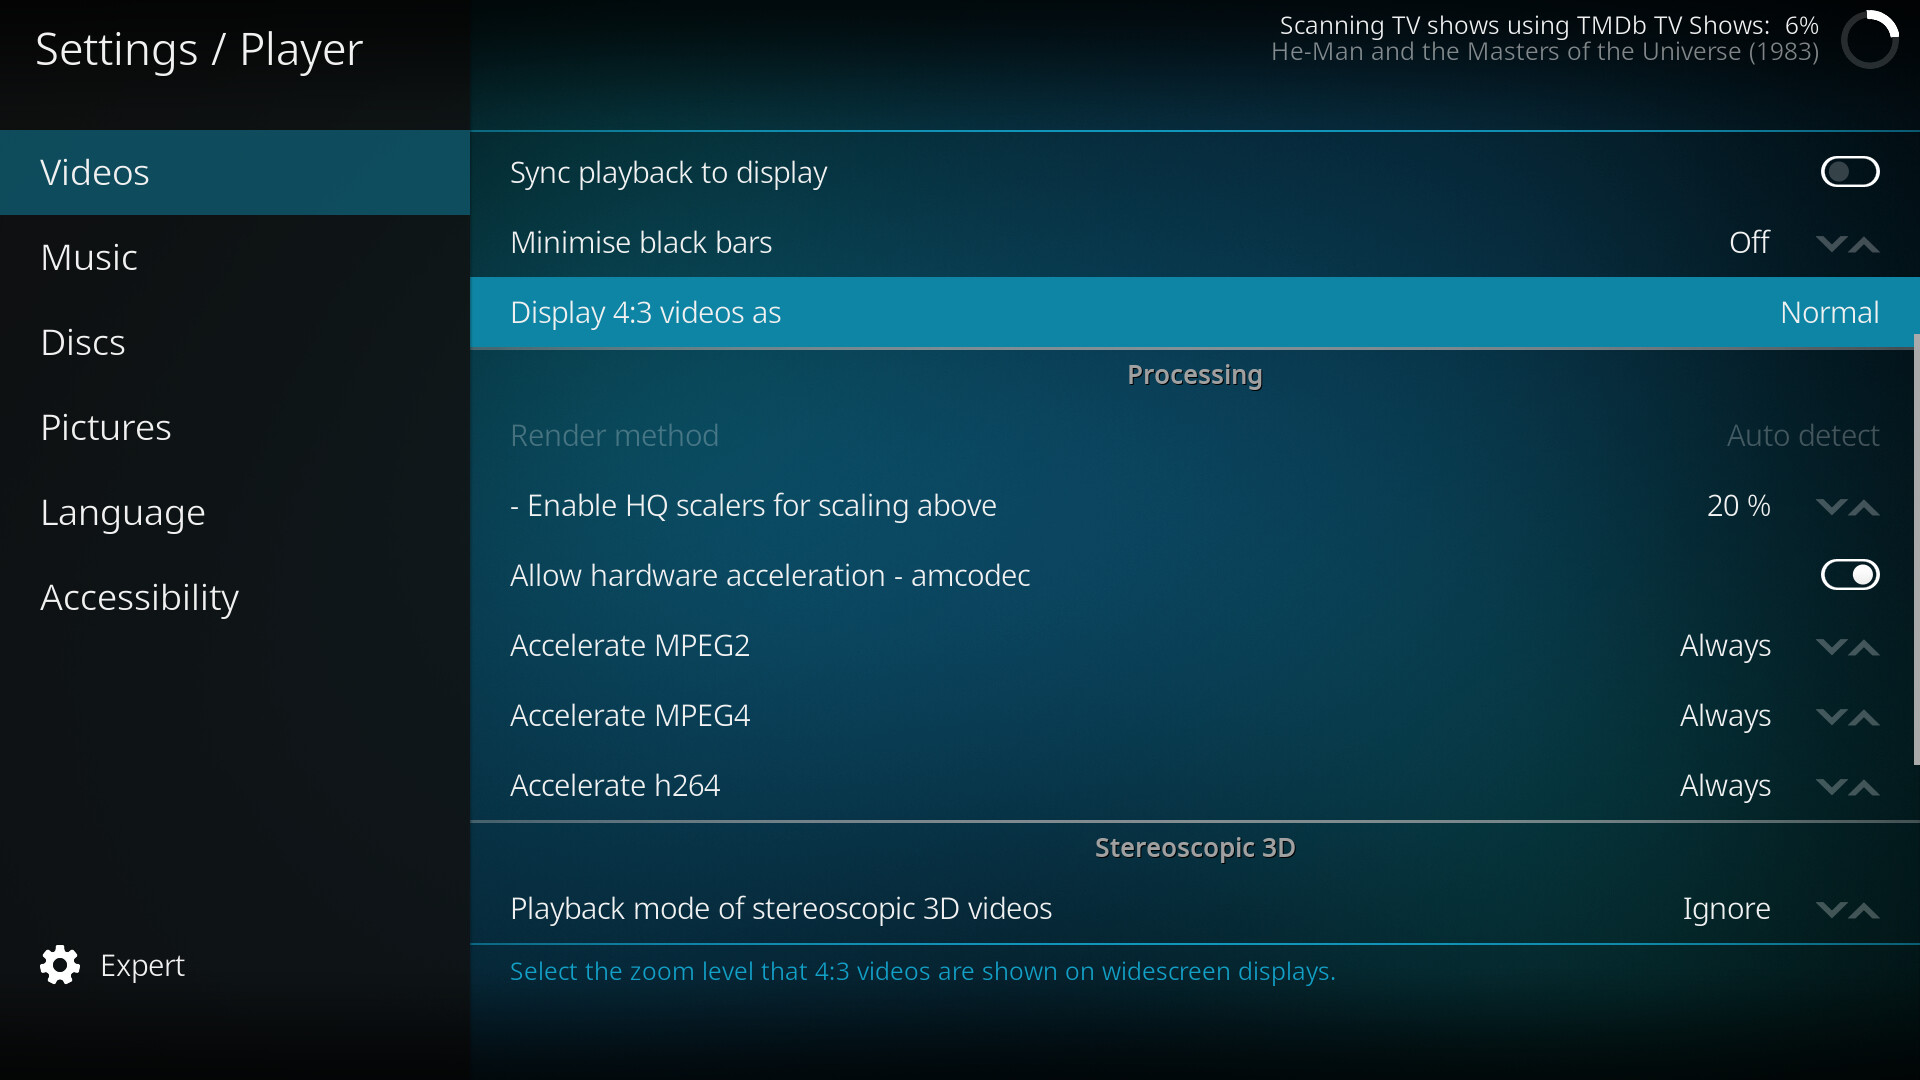
7.) Slightly different topic, but in the player configuration menus there is no option to hardware accelerate H265. I remember reading that the hardware supports it. Is this feature just not implemented yet?

Appreciate any information or thoughts on the above!

1 Like
  1. The coloured labels just mean what OS for which ODROID board is pre installed on the eMMC module. This doesn’t matter if you are installing CoreELEC on it since you will be overwriting what is pre installed anyways. All the modules of the same capacity our physically identical(make sure to get a USB3.0 eMMC Module Writer. This is well worth the $10 price since it drastically simplifies writing whatever OS you want to onto the EMMC module if you are not planning on using the pre installed OS. Also very handy for backing up the contents of a module or recovering from any extreme experimenting with an OS that went wrong.)

  2. As with most solid state storage the larger capacity modules tend to be slightly faster then the smaller capacity modules.

  3. The connector is proprietary to HardKernel. However they can be used on any of the Odroid boards. (I have a couple that I originally purchased for use with the ODROID-C2 that I’m able to use with the ODROID-N2+ just by writing an OS for the ODROID-N2+ on to them.)

  4. It’s best to go with Original Hardkernel modules. Since these will be 100% compatible. There would also be no price difference for a blank eMMC module. Since there is no additional fee charged for the pre installed OS.

  5. The USB3.0 eMMC Module Writer mentioned above in answer 1, is the way to go if you want to write to the module with dd from a PC. Like you would with an SD card. (This is also very fast. It takes me longer to type the sudo dd command and enter my password then it does to burn CoreELEC image this way.)
    The script can copy an existing install from an SDcard to the module.

  6. Installs on eMMC modules on SBC are fully supported.

There is a difference between a SBC(Single Board Computer) and a TV box when it comes to advice regarding eMMC/internal storage. Mainly on a SBC we don’t consider the eMMC to be internal storage, since most of the SBC this is a separate module that is removable. The CoreELEC images for SBC also include the bootloader, where the TV box makes use of the one installed on the device. The TV boxes use a hack to make the install to eMMC. It is this hack method of installing to the eMMC of TV boxes that is not supported.

  1. H265(and the other codecs supported by the hardware) should be hardware decoded by default on a new install.

I hope this helps answer some of your questions.

Thank you, that is some great information that answers a lot of questions I couldn’t figure out on my own. Greatly appreciate it.

Some follow up questions if you don’t mind:

Regarding eMMC modules
I found something on the HardKernel wiki that suggested there is a hidden partition on their eMMC modules which contains a required bootloader.

If I were to just DD the image to the device like I did with the MicroSD Card, I would overwrite this image. What is the best way to do this? Do I just overwrite the other partition on the device with my main corelec partition? Do I have to edit anything in that hidden bootloader partition to make sure it boots properly?

Regarding Hardware H265 Decode
The only reason I brought this up is because in the settings for the player there are options to enable/disable MPEG2, DivX, and H264 hardware decode. H265 was not in that list:

I assumed this meant it was not implemented, but maybe it is, but just doesn’t have an enable/disable toggle like the others?

I have to admit I am pretty impressed with corelec on this little device thus far. Menu’s are as smooth as on my x86 machines, and video playback is more uniform and smoother. Can’t complain about the power use either. Playing back media from a NAS is at 3.0w to 3.1w at the wall according to my Kill-A-Watt. Idle on the main screen is at 2.8w to 3.0w. This is with two USB devices plugged in, a Logitech wireless adapter for a keyboard, and a Windows Media Center IR adapter that came with the remote, both of which I was using on the existing x86 box.

I’m used to having a lot more playback options (like deinterlace (bob, motion compensated, motion adaptive, etc) and scaling methods (bilinear, Nearest neighbor, etc)) but I’m guessing those just aren’t shown because the image settings are preconfigured to use the best options available in hardware for the device?

The remote doesn’t seem to wake the device from hibernate though, and it doesn’t appear to have a power button, so I might just leave it on 24/7. At just a few cents worth of power per month, that seems like it would be the easiest solution.

I’ll have to dig through the config files though, and figure out how I can prevent people from shutting it down using the power button on the remote or the menu.

Anyway, I appreciate all of the help, and look forward to this exciting new chapter in my HTPC setups!

The hidden bootloader partition mentioned on their wiki is in reference to the ODROID-XU4 and doesn’t matter with the N2/N2+. You can just DD an image for the N2/N2+ without issue.

Their just isn’t an on off switch for the hardware h265 decoding.

Yes the N2+ is a rather impressive little device.

The lack of options for playback is because some are not valid for how the hardware works and the best option is the default that the hardware does. Amlogic devices write video output directly to the hardware video plane, which has the ability to do scaling and other post processing in hardware. This is a bit different from how a PC does it, which tend to have to rely on OpenGL to do such post processing.

For the remote wake up button, there is a bit of configuration required. If you are using the Hardkernel remote, goto Settings > CoreELEC > Hardware > IR remote power code and select Hardkernel this will set the IR remote power on code to work with that remote. (If you are using an MCE compatible remote there is an option to set the code to work with that instead if you want.)

It is also possible to add a hardware power button to the N2+ as well, but this is a bit more involved. See https://wiki.odroid.com/odroid-n2/application_note/gpio/gpio_key_wakeup (There is one important thing to note however about the wiki instructions, step 3 the software setup is different on CoreELEC then what the instruction state. For CoreELEC you need to uncoment and edit if needed the the gpiopower line in config.ini file instead of the editing the boot.ini file as the wiki instructions show.)

Again,

Great information that resolved some points of confusion for me.

Thank you!

Hey,

A follow-up question if you wouldn’t mind.

my eMMC module and USB adapter finally arrived from Ameridroid, so I tried to use it today.

I directly imaged the entire working SD card to the eMMC module on my linux laptop.

Since the eMMC module was slightly larger than the SD Card, I then proceeded to use GParted to expand the storage partition to fill the rest of the module.

Everything checked out, and partitions are good and healthy.

Popped it into the Odroid to boot it up, and that’s where the problems started.

The HardKernel splash screen comes up on the TV, followed by the CoreElec splash screen, which sits there and pulsates for a little bit, but then it just shuts down and tries again.

Essentially it enters what appears as an eternal boot loop.

I tried hitting esc on the keyboard like I am used to under linux, to see if that would reveal any useful error messages, but that does not appear to remove the splash screen on this build.

So, to return to my working configuration, I plugged the SD card back in again, and it booted up instantly. Interestingly, it detected and auto-mounted the partitions on the eMMC module it couldn’t boot from in /var/media, as can be seen here:

Or if you prefer the console:

CoreELEC:~ # mount |grep mmcblk
/dev/mmcblk1p1 on /flash type vfat (ro,noatime,fmask=0022,dmask=0022,codepage=437,iocharset=ascii,shortname=mixed,errors=remount-ro)
/dev/mmcblk1p2 on /storage type ext4 (rw,noatime,data=ordered)
/dev/mmcblk0p1 on /var/media/COREELEC type vfat (rw,nosuid,nodev,noexec,noatime,fmask=0133,dmask=0022,codepage=437,iocharset=ascii,shortname=mixed,utf8,errors=remount-ro)
/dev/mmcblk0p2 on /var/media/STORAGE type ext4 (rw,nosuid,nodev,noexec,noatime,data=ordered)

Any suggestions on what to try?

I feel like my knowledge of the boot process on PC’s isn’t terribly helpful with this device :stuck_out_tongue:

Much appreciated,
Matt

Possibly check the uuid of the resized partition to see if it has changed. The boot.ini file has a line in it that tells the system what partitions to use, by the uuid of the partition. If the info in the boot.ini doesn’t match the uuid of the partition this can cause a failure to boot.

Another option, instead of cloning the install directly from sd card. Use the back up option in settings / coreelec, to backup existing install. Then do a new install on the emmc, copy your backup, and use restore option.

I’m just about to head to bed. If either of the above doesn’t help let me know and I will help you sort it out after I have had some coffee tomorrow morning.

If you have a uart adapter then, the output it can provide is the best option to see what is actually happening.

However there is some options to get some debug output on the hdmi connection. (it just has a habit of scrolling off the screen, but problems are usually the last thing shown, so it might still show something helpful.)

If you add the following to your config.ini it will turn off the splash, shows systemd progress, and turns off the muting of kernel messages.

coreelec='nosplash progress nopkmute'

Thank you for the suggestions.

I will try these and post back here how it goes!

This topic was automatically closed 91 days after the last reply. New replies are no longer allowed.