Sure,use what you are comfortable with ,it is EOL
If it is working for what your needs are,then go ahead, you can always change after.
Update your Ugoos Firmware, then Rock On
Sure,use what you are comfortable with ,it is EOL
If it is working for what your needs are,then go ahead, you can always change after.
Update your Ugoos Firmware, then Rock On
Whoops! I forgot to ask something rather important.
As previously mentioned, I have a lot of addons installed on the AM6+ with tons of stuff in the library. Are these all stored on the SD card or in the device itself? If the latter, will I lose everything by reflashing the original firmware or will its storage remain intact?
1-It’s all there on your SD Card, if you are booting from External. Remove from SD Card port before flashing new Firmware.
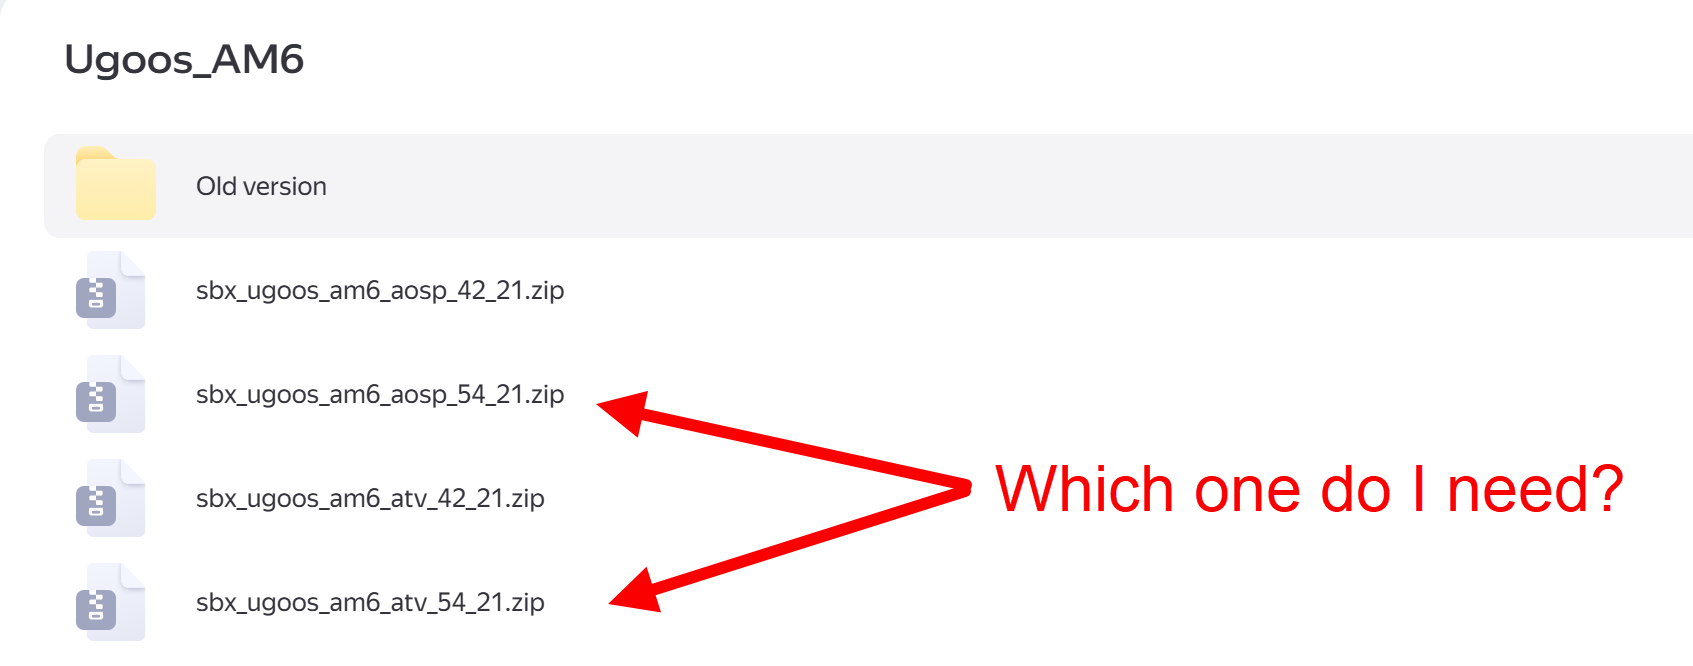
2 - thats not Ugoos Official site .you are wanting to flash slimboxtv. ATV is my choice AOSP is more like a phone/tablet layout
Sorry, I was unable to understand the Slimbox site as it is all in Russian. What advantage is there over the original Ugoos firmware please?
you get Android TV UI, while the stock Ugoos is more tablet/phone UI, slimboxtv is highly recommended as the play store gets updated too.
Thanks for that explanation, although I cannot understand how Ugoos firmware for their TV boxes is made for a tablet or phone? Nontheless, I don’t know if I really need the Slimbox version because I only use CoreElec for watching/listening to mkv, avi, mp3, and mp4 files.
This latest discusion become more and more pointless. This is CE forum and not Android one.
Look, I am trying to install CE Omega 21.3 stable on my new AM6B+ and am rather confused over the suggestions I am receiving. This may be because I am dealing with the restoration of my AM6 Plus as well as my new AM6B+.
Also, it may be the CE forum but the title of this thread is Ugoos AM6(+), Help and Support, therefore I am hardly off-topic.
Just use Amlogic USB Burning Tool and write official image to it.
And if you want ot experiment with unofficial images then just do.
About forks you can discuss elsewhere!
I don’t know what forks are, other than for eating with.
Anyway, I bought the cable and installed the burning tool with its driver, but when I selected the image to import, nothing happened, even after waiting for more than 15 minutes. Should the image not be displayed under the device tab, or at least confirm that file verification has been successful??
coreelec:aml_usb_tool [CoreELEC Wiki].
Follow this link maybe will help with flashing
Ok, so to be clear, I am actually dealing with 2 different issues here because I have 2 AM6 boxes.
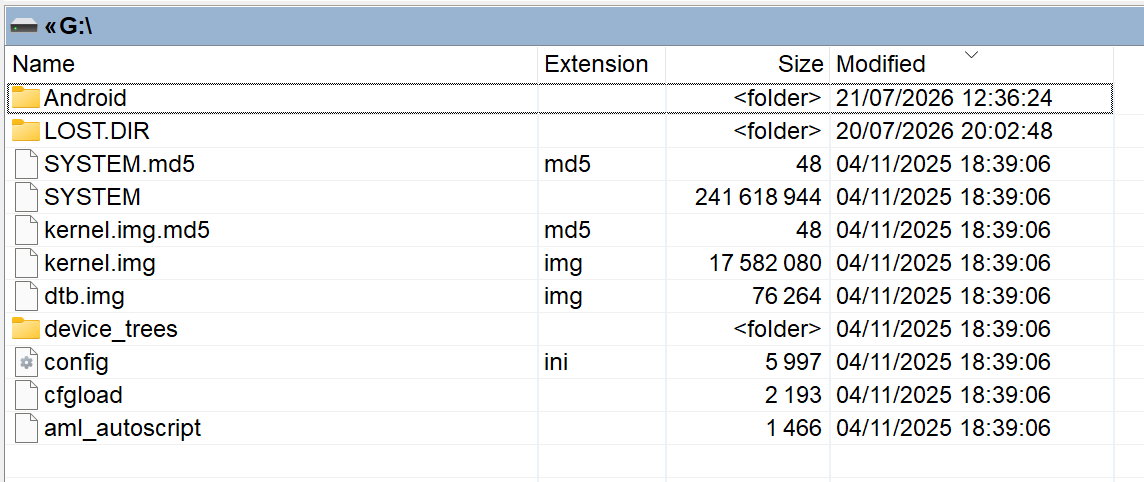
Regarding my new AM6B+, I installed CoreELEC Omega 23.1 on a USB drive yesterday. In Windows I can see it has been successfully installed. When I plug it into the AM6B+, the device always boots into the Ugoos interface. What do I need to do to get it to boot into CoreELEC, please?
Now, concerning the restoration of the older AM6 Plus, it would appear the problem was with the OTG cable I purchased yesterday. After replacing it, the device now works correctly.
I am not sure what you are trying to tell me, Portisch?
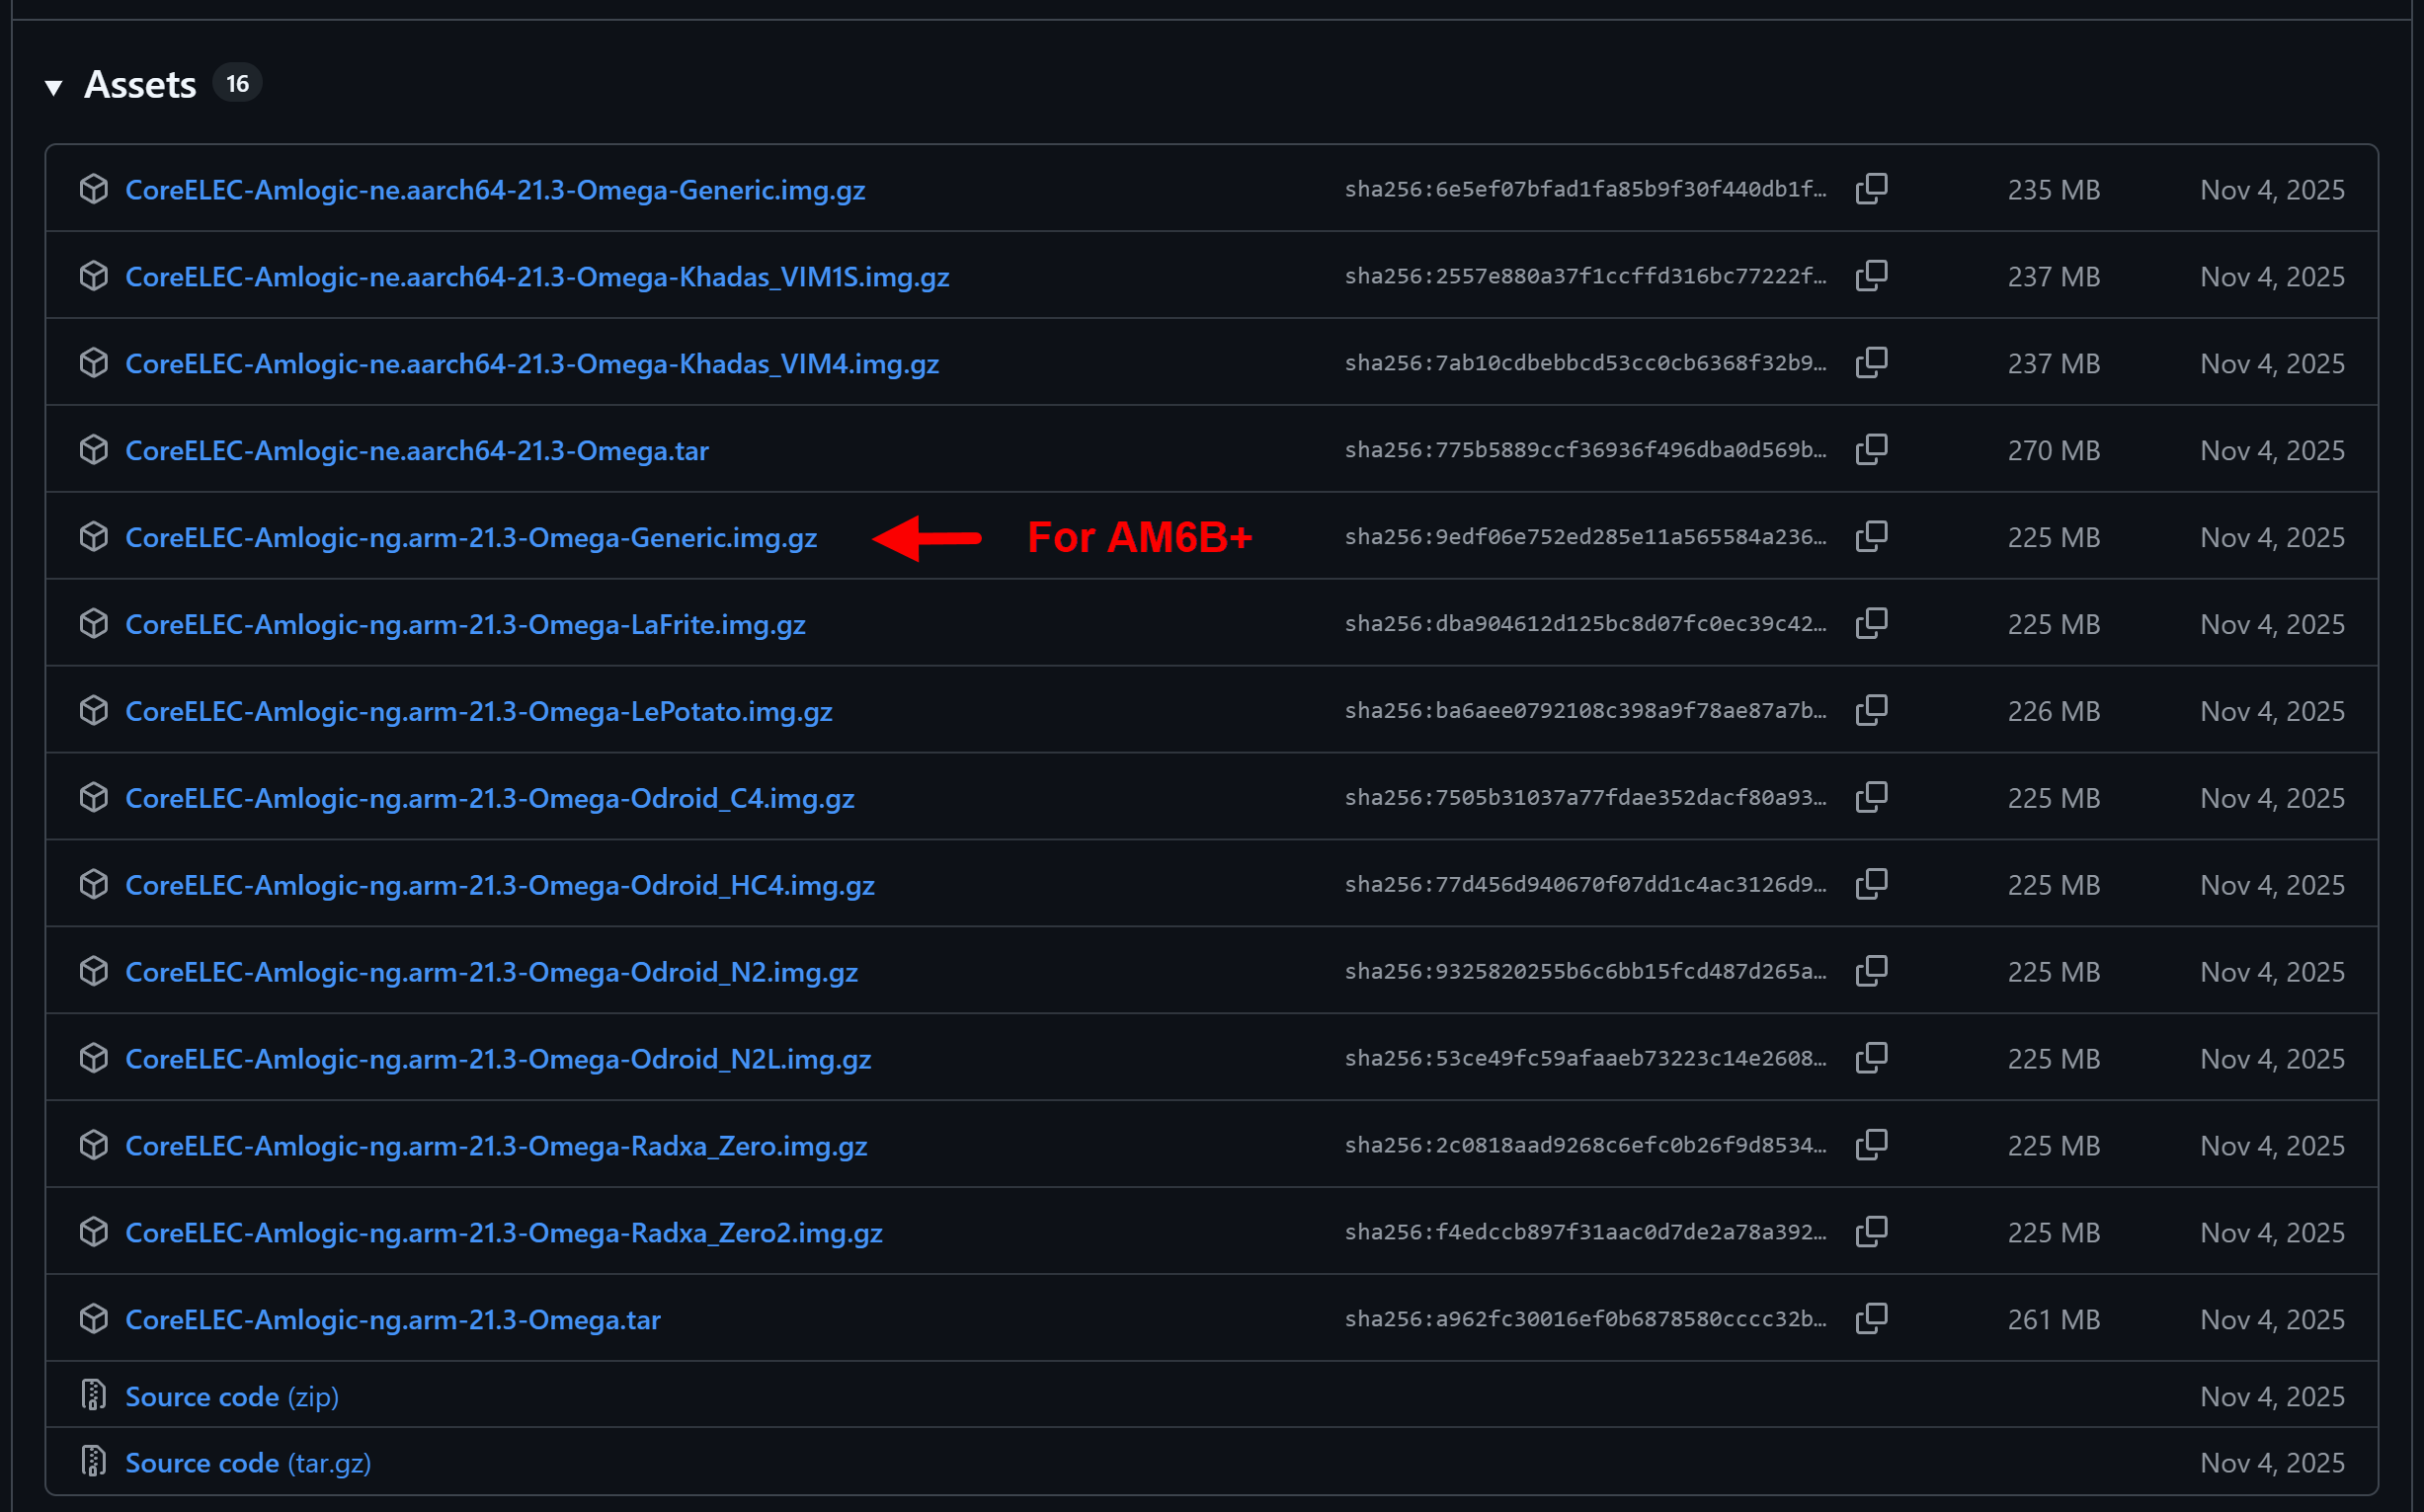
According to the Wiki, Omega is compatible with the S922X although it is in EOL stage. Are you suggesting I should install the Piers beta? I only chose the Omega 23.1 because it is the last stable version. Besides which, I don’t see how the latest update would solve the boot loop.
Would you read the Wiki you would know:
In this phase, development ceases, and Team CoreELEC no longer provides technical support for the product.
Well Ok, however if Piers is in beta stage, I cannot see why you would stop supporting the last stable version. So, are you saying that should I reflash to Piers, it should eliminate the boot loop? If so, I will do it tomorrow.
Disconnect the power adapter from the device. While holding down the Recovery button on the rear panel with a pointed object, apply power; keep the button pressed until the CoreELEC logo appears. Release the button once the logo CoreELEC appears.
About | FAQ | Terms of Service | Privacy Policy | Legal Notice