What will be needed?
- Windows based machine (if you’re on Mac or Linux, you can use a free Virtual Machine ie. VirtualBox)
- FTP/SFTP client ie. FileZilla, WinSCP, Transmit or other
- Channel list for Enigma2
Step by step guide
-
Download a tool named E22TVH 1.5a created by guys from Wetek.
Download link : MEGA -
Extract and install E22TVH - don’t run it yet as we need to download the channel list first.
-
Download your desired Enigma2 channel list - you can easily find them on Google.
-
Extract the downloaded list and place it in easily reachable location ie. Desktop
Below you can find a screenshot with what files should be in downloaded archive.
NOTE: E22TVH app is a little bit buggy and it likes to throw errors if you won’t do the steps fast enough.
If you’ll end up with crashed app or “Run-time error 53”, just try again ![]()
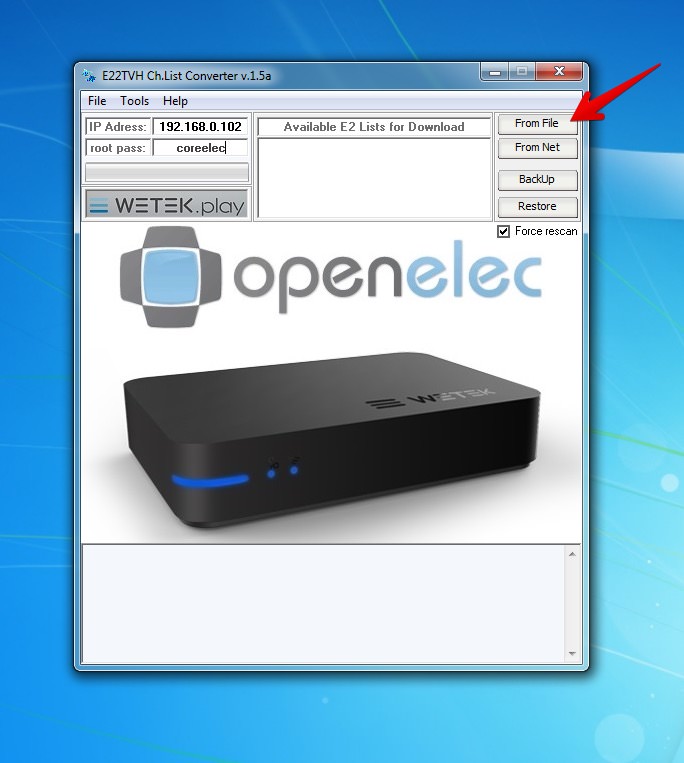
- Run E22TVH app, type in your CE box IP address and change the password. Default is
coreelec.
-
Select From File on the right and point it to the directory where you extracted your Enigma2 list. Next select
lamedbfile and open it. -
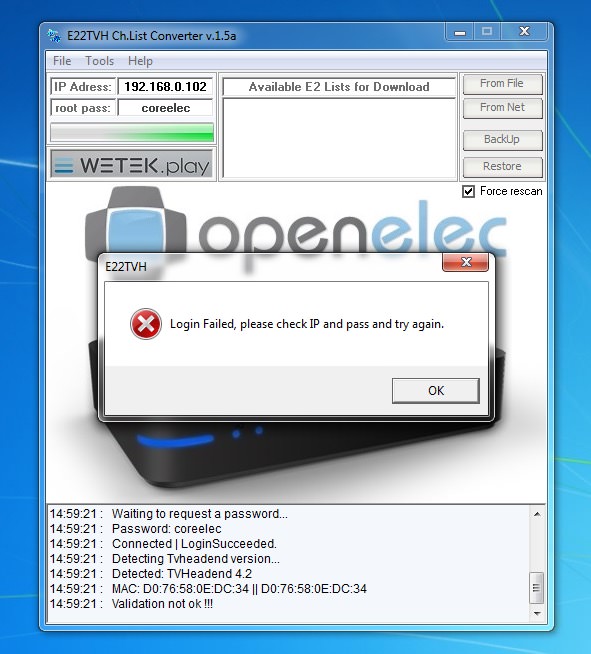
E22TVH will start doing it’s magic, but at the end you WILL get error
Validation not OK!andRun-time error 53- THIS IS FINE!!!
The tool already did what it should do and we no longer need it!
- Now go to your
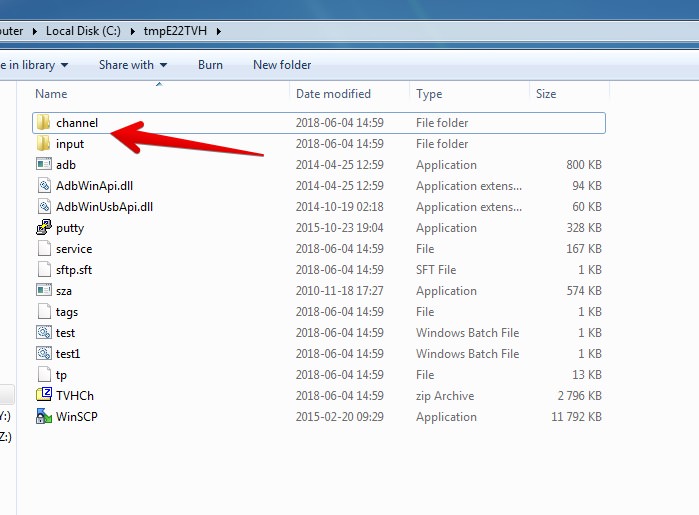
C:\drive and find directory calledtmpE22TVH. Inside of it you’ll find 2 directories : channel and input.
-
Open your FTP/SFTP app and connect to your box. Go to the
.kodi/userdata/addon_data/service.tvheadend42or.kodi/userdata/addon_data/service.tvheadend44location. -
MAKE A BACKUP OF THE CONTENTS OF THE WHOLE TVHEADEND CONFIGURATION DIRECTORY in case if something goes wrong. If you will skip this step and something goes wrong - you can loose your TVH configuration.
-
Delete the existing channel directory on your box and upload a new one in its place.
-
input directory is a little bit different as inside of it, under
dvb/networks/<your-network-id>/, you’ll find a file calledconfigwhich keeps your network configuration. I suggest leaving this file as it is and just delete the muxes directory and uploading new muxes in its place.
The updated muxes directory is really all you need here. -
Restart your CE box.
-
Do the Force Scan of muxes by going to TVH dashboard in the browser at
http://<your-box-ip>:9981and navigating to theConfiguration -> DVB Inputs -> Networks. Here select your network and click on the Force Scan. This will make sure that TVH knows about all new, changed or deleted muxes.
Extra Step - In Kodi go to the Settings > PVR & Live TV configuration and in General select Clear Data. This will reload the whole channel list and groups from TVH into Kodi.
At first this guide might seem like a lot of things to do, but when you do it once or twice, you’ll see that if you know the steps - it shouldn’t take you longer than 5 minutes (besides waiting for the mux scan to finish).
Hope this helps some folks ![]()


