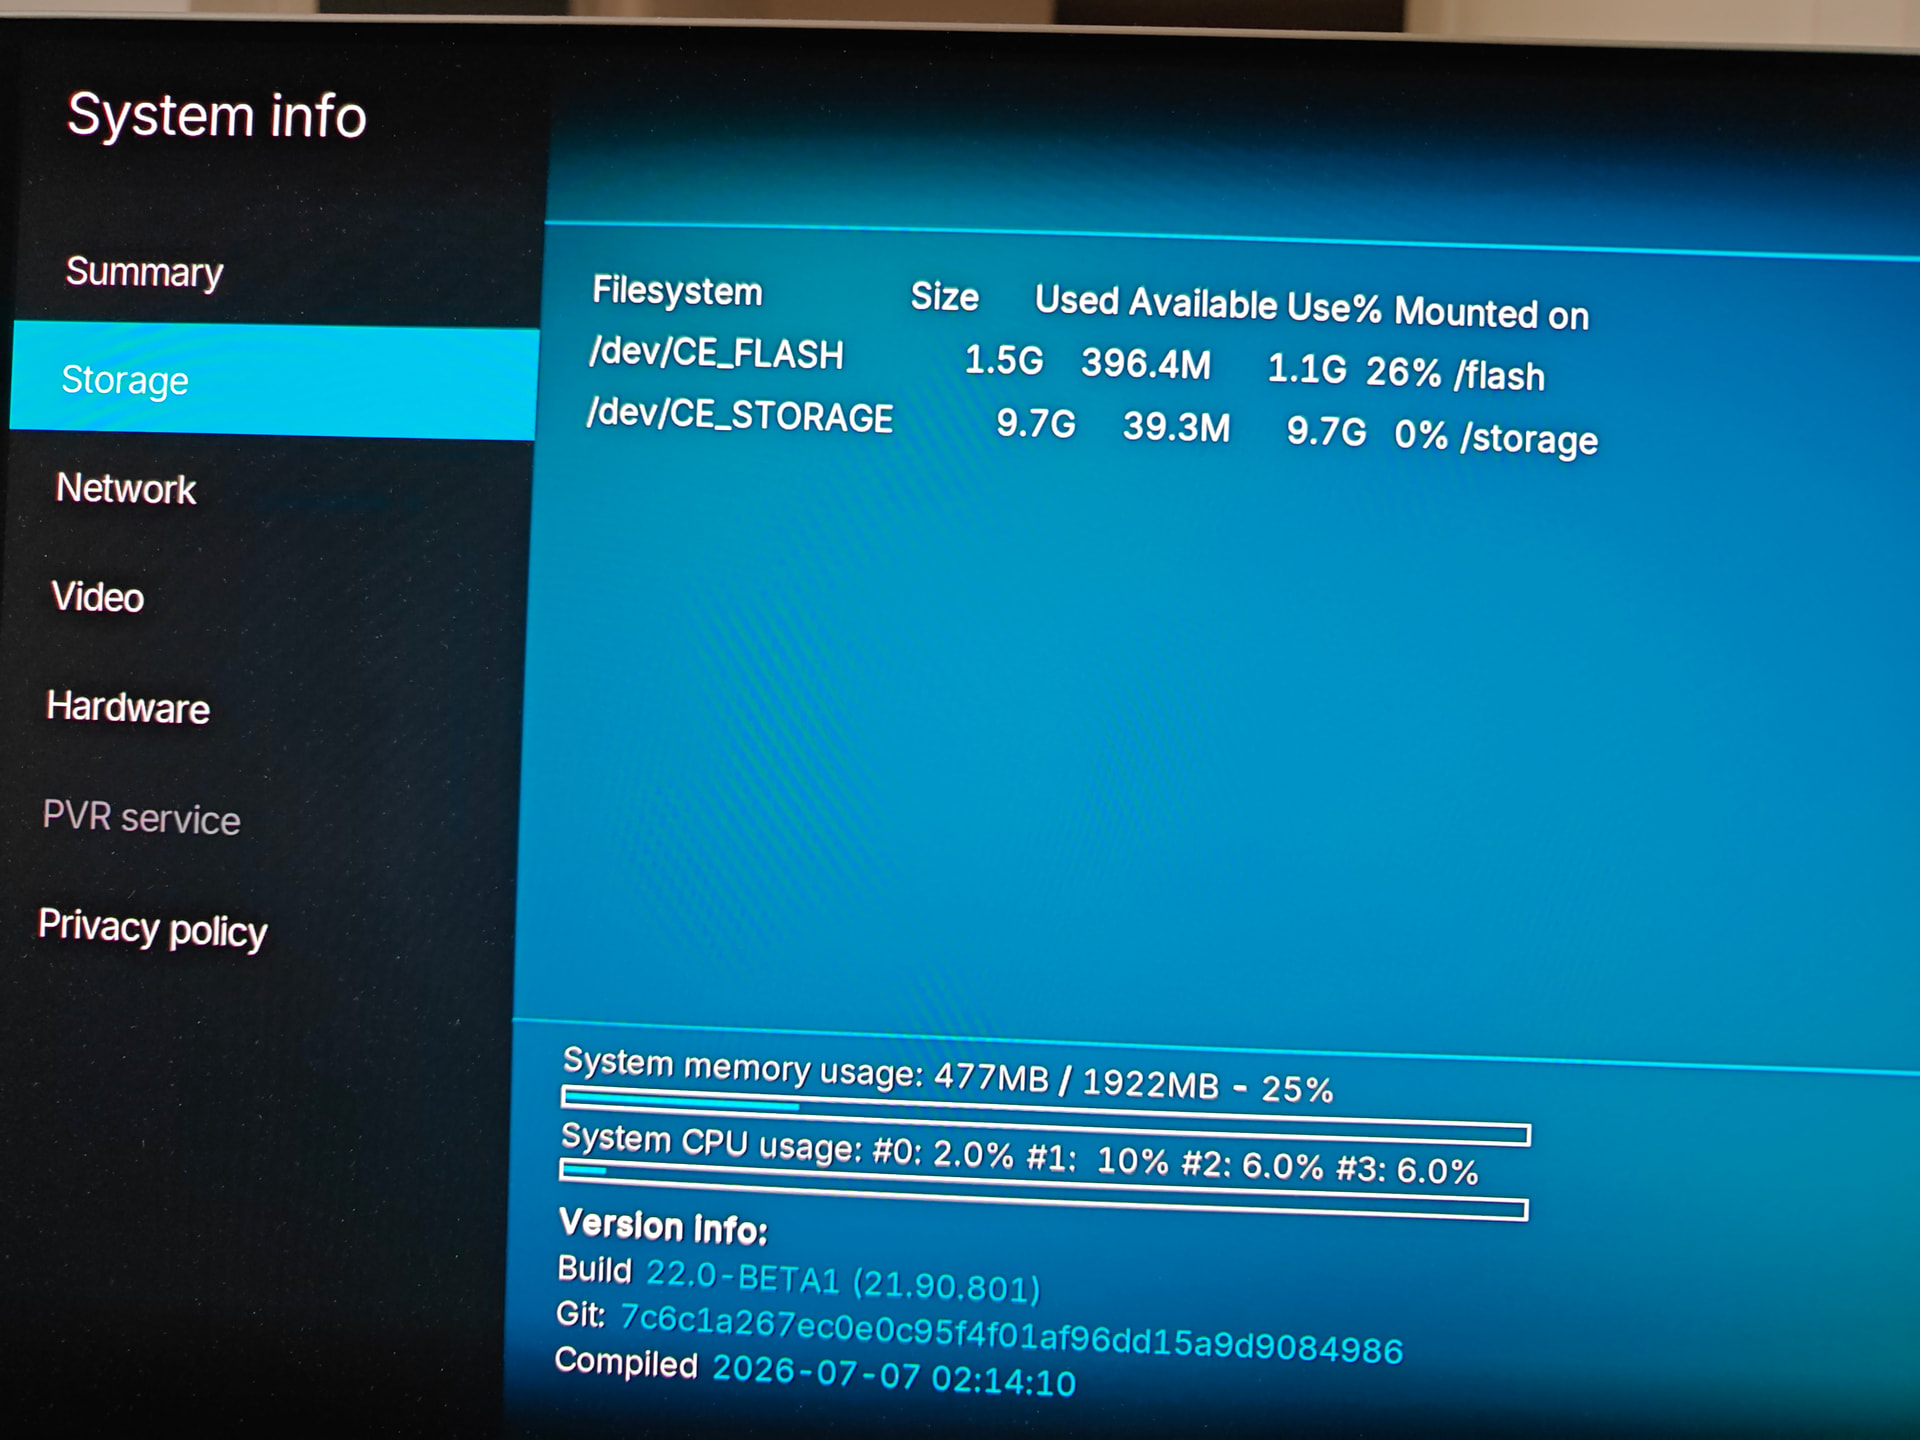
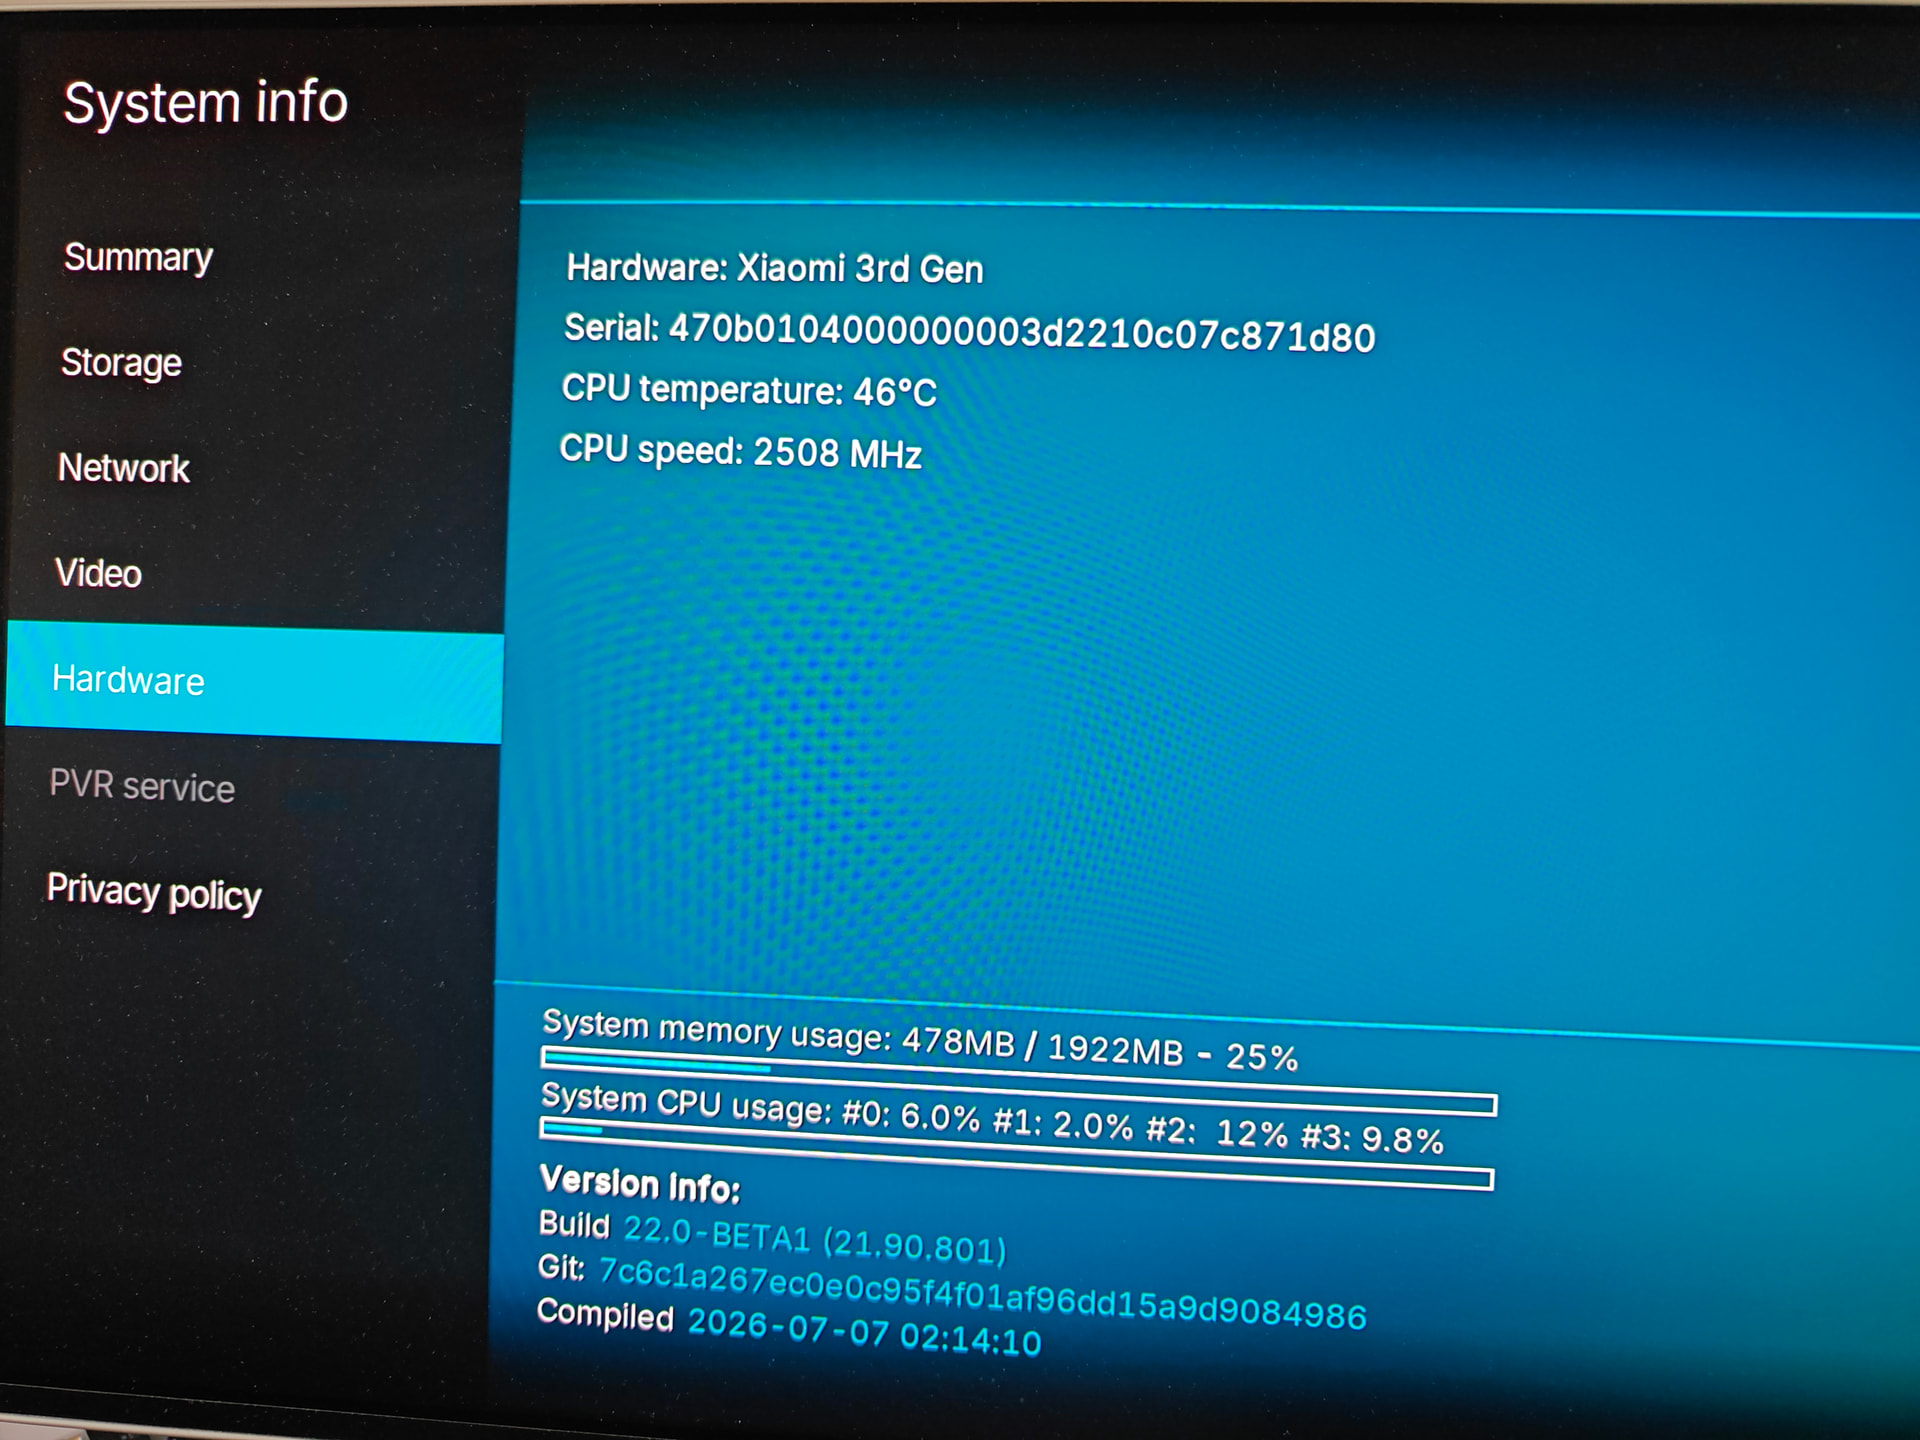
dual boot CE and Android on eMMC now possible, 10GB storage for CE and 16GB for Android.
Excellent… thanks for sharing this!
Is the beta1 CoreELEC image modified in any way? How do we update properly to beta2 or stable when that arrives? Thank you!
it does come with older build, you update as normal, nothing is changed how CoreELEC works.
I am browsing over all these GitHub steps and realise that there is no place where we choose dovi.ko or choose which version of CoreELEC this tool installs. Will dovi.ko be automatically copied and make FEL work and which version of CoreELEC gets installed by following this process?
I am really glad this process exists since it fits my ideal use case of not needing to buy those ethernet adapters and just using a large external USB SSD for all my playback needs.
everything is done automatically, it’s CE22 nightly, you just update to latest nightly as normal after you finished everything, dovi.ko gets added as I have DV options, it’s embedded into the CE_flash partition.
Thanks for the response. I went ahead and started the steps on a live Ubuntu 26 usb with the try Ubuntu option. Unfortunately I’m stuck on step 4
(.venv) ubuntu@ubuntu:~/partB-installer$ python installer/install.py stage_magisk
  (auto-selected the only adb device: XXXXXXXXXX)
== stage_magisk: install Magisk + flash patched init_boot ==
  installing Magisk-v30.7.apk ...
  Magisk APK installed OK
Traceback (most recent call last):
  File "/home/ubuntu/partB-installer/installer/install.py", line 505, in <module>
    main()
    ~~~~^^
  File "/home/ubuntu/partB-installer/installer/install.py", line 499, in main
    sys.exit({"stage_unlock": stage_unlock, "stage_magisk": stage_magisk, "stage0": stage0, "stage1": stage1,
             ~~~~~~~~~~~~~~~~~~~~~~~~~~~~~~~~~~~~~~~~~~~~~~~~~~~~~~~~~~~~~~~~~~~~~~~~~~~~~~~~~~~~~~~~~~~~~~~~
              "stage1b": stage1b, "stage2": stage2, "stage2a": stage2a,
              ~~~~~~~~~~~~~~~~~~~~~~~~~~~~~~~~~~~~~~~~~~~~~~~~~~~~~~~~~
              "stage3": stage3, "verify": verify}[a.stage](a))
              ~~~~~~~~~~~~~~~~~~~~~~~~~~~~~~~~~~~~~~~~~~~~^^^
  File "/home/ubuntu/partB-installer/installer/install.py", line 215, in stage_magisk
    dev = devices.identify(gp, rs, require_layout=False, log=print)
  File "/home/ubuntu/partB-installer/installer/../build/devices.py", line 211, in identify
    sectors = int(read_sectors())
                  ~~~~~~~~~~~~^^
  File "/home/ubuntu/partB-installer/installer/../build/devices.py", line 237, in _read
    return int(out.split()[0])
               ~~~~~~~~~~~^^^
IndexError: list index out of range
(.venv) ubuntu@ubuntu:~/partB-installer$
EDIT: This bug is fixed now in the latest release on GitHub but I didn’t test it as I got impatient and succeeded in manually rooting my device. I am stuck on step 6 though with a failed SHA check on CE_FLASH for which I opened a GitHub issue. Will update here on how it goes.
Link to step 4 issue that is resolved with latest release.
Link to current issue on SHA failure after step 6.
EDIT 2: Excellent support and help all the way helped me get it working. The second issue link on SHA failures can be referred if you face problems.
Can we boot and switch between CoreELEC in eMMC and CE in USB stick? And, if we want to clean install CoreELEC in eMMC, on what step should we start again?
Also, do we connect the Mi Box wired via USB A in the Mi Box to USB A/C in the computer?
I don’t have any USB A to USB A connectors. I successfully am using USB A to USB C as my laptop has a USB C port. It successfully detects adb and fastboot devices.
I want to enable fractional refresh rate support by updating /flash/config.ini frac_rate_policy. Is that possible on this setup? When I flashed CE on a USB stick, I had to edit it by inserting the drive on a different PC. The flash partition seems to be read only when CE is booted
Will try remounting it to rw once installed
Hello all, I’m the creator of the dual boot method. If anyone uses this please note:
CoreELEC Toolbox 1.0.2 is up. It fixes HDR/HLG playing as SDR, and it fixes Bluetooth remotes that connect and then immediately drop. If you installed dualboot before this message you need to download this newer version.
How To Install
Install it over SSH - SSH into the box and paste this single line curl -fLo /tmp/toolbox.zip https://github.com/samtheruby/coreelec-android-dualboot-twilight/releases/download/v1.2.9/script.coreelec.toolbox-1.0.2.zip && unzip -tq /tmp/toolbox.zip && systemctl stop kodi && rm -rf /storage/.kodi/addons/script.coreelec.toolbox && unzip -oq /tmp/toolbox.zip -d /storage/.kodi/addons/ && rm -f /tmp/toolbox.zip && reboot
Once The Updated Addon Is Installed
Open the addon and press Fix HDR/HLG playing in SDR, then reboot. It rewrites the needed part of the boot gate which did not reset hdmitx correctly
**If You Have Issues With the Xiaomi Remote Not Re-Connecting Or Responding To Button Presses **
Do These In Order:
- Boot into Android and unpair the remote. Wait 3 seconds then re-pair it again
- Reboot android, back into Android, as the helper only exports the keys at boot, so the pairing you just made is not saved until Android boots once more.
- Boot back into CoreELEC.
- Open Add-ons > CoreELEC Toolbox > Sync Bluetooth remotes from Android. If it warns that CoreELEC already has its own pairing for the remote, choose to replace it. That warning exists for people who paired in CoreELEC by mistake; you paired in Android in step 2, so replacing is correct.
- If it tells you to reboot, reboot. It removes 1.0.1’s privacy config from disk, but the Bluetooth controller keeps the setting until the next boot, and the remote will keep dropping until it is gone.
- Press a button on the remote. It should connect within a second or two and stay connected, including waking from sleep on its own from then on.
If either of these steps do not work or there are any other issues you are facing please open a issue on github with the error you are facing here: GitHub - samtheruby/coreelec-android-dualboot-twilight: Method to boot CoreELEC from internal eMMC alongside the stock Google TV on a Xiaomi TV Stick 4k 2nd Gen or a Xiaomi TV Box S 3rd Gen. · GitHub
I was checking the Dolby Vision module and noticed a difference in the hashes between the bundled dovi.ko and the latest patched version available.
The one currently included in /flash/dovi.ko outputs this SHA-256 hash: c3f0189c01499e9d965bb81177c9348d5ee40845336de27fa9c1dd4f21f4ebbb
the latest 5.15_2.6_dovi_patched_fix_fel.ko https://discourse.coreelec.org/t/fel-amlogic-no-support/58631 has a different hash: f6c26659a255447685ceac9441e399c999b1fae9c6435c48d70e14a14dd7f8f7
thanks I’ll check
Thanks for flagging I was using 5.15_2.6_am9_dovi_felfix.ko I’ll update the release with 5.15_2.6_dovi_patched_fix_fel.ko
Can you add a script and a README section to do a clean install of CoreELEC?
Also, the new releases are now using the custom CoreELEC build with VS10 improvements right? It would be great if we can choose between the custom build and the official build
- Once you ran through the installation process you can update normally as you always would, a update script fires after the update to ensure dual-boot remains possible
- Thanks for raising this, these were a test run that should not have been included in the release, at this time I only plan on shipping stock CE-NO and not the custom builds, as CE-NO is still in beta and there are nightly updates that can fix and change a lot of things, which can affect these custom builds. My next release will be reverting back to the stock builds, and if a user wants to use the custom builds they can update to it using the update file just as in any update.
Can we update from the custom build already installed on eMMC to the official nightly? Won’t that break anything? That’s why I am asking if it’s possible to redo a clean install. Is wiping /storage enough?
Once CE releases stable, I’ll probably want to start from scratch to avoid potential issues.
you don’t need to start from scratch just update as normal.
Anyone using the latest nightlies? I didn’t have this issue on the beta.
When I was using the beta, I intentionally set the GUI to 1080p60 instead of 1080p120 because of this same issue. And my TCL TV info button shows 1080p60hz so its working as expected.
But now, even when I set any refresh rate in 1080p, it keeps staying in 120hz. This was not an issue in the beta.
When I change the 1080p to any refresh rate, it just flickers for a while. On the beta it was turning the TV screen black to change to the correct refresh rate.
When I set the UI to 4K60, many Dolby Vision videos are just playing as a black screen, but with audio working properly.
When I set to UI to 1080p120 (or any refresh rate, the TV info shows as always 120hz), 4K non Dolby Vision content (SDR and HDR) are shown blown up and TV is stuck in 1080p120hz mode.
I tried selecting None in the whitelist modes, and selecting all refresh rates for 1080p and 4K, same issue.
Basically:
4K60 UI: Most Dolby Vision videos in black screen with sound
1080p UI: TV stuck in 120hz mode, most non DV videos show as blown up/zoomed in
Your internal eMMC install break CoreELEC.
** NEW IMPORTANT CoreELEC internal-storage update (v1.3.0)**
Fixes for boxes installed to internal storage:
- 4K video plays at 4K again, not zoomed-in at 1080p
- Refresh rate switching works (24/50/60 apply instead of being ignored)
- Installs the correct Dolby Vision file (some boxes shipped with the wrong one)
- The fix now survives future CoreELEC updates
Update: SSH in (ssh root@YOUR-BOX-IP, default password coreelec) and paste one line:
curl -fLo /tmp/toolbox.zip https://github.com/samtheruby/coreelec-android-dualboot-twilight/releases/download/v1.3.0/script.coreelec.toolbox-1.1.1.zip && unzip -tq /tmp/toolbox.zip && systemctl stop kodi && rm -rf /storage/.kodi/addons/script.coreelec.toolbox && unzip -oq /tmp/toolbox.zip -d /storage/.kodi/addons/ && rm -f /tmp/toolbox.zip && reboot
Kodi restarts itself after a few seconds. Then open CoreELEC Toolbox (Add-ons > Program add-ons), run Repair dual-boot install, reboot when asked. It fixes only what’s wrong, so it’s safe to run either way.